Your RV water is usually cloudy after changing the filter because tiny air bubbles entered the new cartridge or filter housing. A fresh carbon filter may also release fine carbon particles during its first flush. If the water gradually clears while sitting, trapped air is usually responsible.
In this guide, I’ll help you identify exactly what you’re seeing. We’ll also cover proper flushing, RV-specific troubleshooting, and warning signs that deserve attention.
Key Takeaways
- Milky RV water after a filter change usually contains trapped air.
- Water clearing from bottom to top normally indicates tiny air bubbles.
- Black or gray specks can come from a new carbon filter.
- Always follow your filter manufacturer’s recommended flushing procedure first.
- Persistent cloudiness may involve your tank, pump, plumbing, or campground water.
- Compare city water and fresh-tank water when troubleshooting persistent cloudiness.
- Bad odors, slime, discoloration, or continuing sediment require further investigation.
- Cloudy appearance alone cannot confirm whether drinking water is safe.
What Causes Cloudy RV Water Right After a Filter Change?
Several things can make RV water look cloudy after replacing a filter. Most are temporary, but knowing the differences makes troubleshooting much easier.
Trapped Air Inside the New Filter
Trapped air is the most common reason for milky RV water.
A new filter cartridge starts relatively dry inside its filter media. Small spaces throughout that media naturally contain ordinary air.
You also introduce more air when opening the filter housing.
Once you restore water pressure, water begins filling those spaces. That pressure pushes thousands of microscopic air bubbles into the plumbing.
Those bubbles scatter light and make clear water appear milky.
The effect can look surprisingly dramatic in a clear drinking glass.
You may immediately assume something contaminated your fresh water. Fortunately, the appearance often disappears once those bubbles escape.
Fine-micron cartridges can sometimes hold trapped air longer than expected. RVs with low daily water usage may also purge air slowly.
Carbon Fines From a New Carbon Filter
If you installed an activated-carbon filter, you might notice dark particles.
These particles are commonly called carbon fines.
Activated carbon contains many tiny pieces of carbon filtration material. Small loose particles can remain inside a new cartridge after manufacturing.
The first water passing through may carry some particles downstream.
Carbon fines normally appear as:
- Tiny black particles
- Fine gray particles
- A slight gray haze
- Dark material caught inside faucet aerators
They should gradually decrease as you properly flush the cartridge.
Bright white water usually points more toward air than carbon.
If black particles continue after proper flushing, inspect the cartridge. Persistent material should not automatically be dismissed as normal carbon dust.
Air Trapped in the RV Plumbing Lines
The filter itself may not hold all the trapped air.
Opening the filtration system can introduce air into downstream plumbing lines.
That air can travel toward your:
- Kitchen faucet
- Bathroom faucet
- Indoor shower
- Outdoor shower
- Toilet supply
- Water heater plumbing
You might hear sputtering when opening faucets after replacement.
The water may alternate between clear and milky during purging.
Normally, this improves as water moves through each plumbing branch.
Sediment Disturbed During the Filter Change
Not everything floating in cloudy water is trapped air.
Replacing a filter can disturb sediment around the filtration system.
Older debris might remain inside the filter housing or nearby plumbing.
Your hose can also contain sediment from previous campground connections.
The fresh-water tank may contain settled mineral deposits as well.
Once water pressure returns, those deposits can become suspended again.
Unlike air bubbles, solid sediment usually settles toward the glass bottom.
That difference makes the glass test particularly useful.
Cloudy Campground or Fresh-Tank Water
Sometimes the new filter gets blamed for an unrelated water problem.
This happens because the timing makes the filter seem responsible.
Campground water quality can vary significantly between locations.
One campground supply may contain more:
- Dissolved minerals
- Sediment
- Entrained air
- Iron
- Hard-water minerals
Your fresh-water tank can create another variable.
Recently filling the tank may disturb material resting along its bottom.
Water stored for extended periods can also change noticeably.
Before blaming your new filter, compare different water sources carefully.
Use the Glass Test to Tell Air From Sediment
One simple test can tell you surprisingly much about cloudy water.
Fill a clean, transparent glass directly from the affected faucet. Place the glass somewhere stable and leave it completely undisturbed.
Watch what happens during the next several minutes.
If the water clears from the bottom toward the top, microscopic air bubbles are probably responsible. The bubbles rise because air is lighter than water.
You may even see a thin cloudy layer near the surface. That layer gradually disappears as the bubbles escape completely.
If visible particles sink toward the bottom, you are probably seeing sediment. That material deserves a different troubleshooting approach than trapped air.
If the water remains uniformly cloudy without improving, keep investigating.
A cloudy glass that stays cloudy should not automatically be labeled harmless air.
Black or gray particles also point toward carbon fines. That is especially likely after installing an activated-carbon cartridge.
Try this test several times during your flushing process.
You should generally notice improvement between early and later samples.
Quick Diagnosis: What Does Your Cloudy RV Water Look Like?
The appearance and behavior of the water offer useful troubleshooting clues. Use this table before taking the filter housing apart again.
| What You Notice | Most Likely Cause | Quick Check | What I Would Do Next |
| White or milky water | Microscopic air bubbles | Let a glass sit | Continue flushing |
| Water clears bottom to top | Trapped air | Watch a clear glass | Allow the system to purge |
| Tiny black or gray specks | Carbon fines | Check filter media type | Complete the recommended flush |
| Sand-like particles settling downward | Sediment | Leave water undisturbed | Inspect housing and water source |
| Cloudiness only using fresh tank | Tank or pump-side problem | Switch to city water | Inspect tank and pump inlet |
| Cloudiness only on city water | Campground supply or city-water path | Test campground spigot | Check hose and source water |
| Cloudiness from both sources | Filter or downstream plumbing issue | Bypass or isolate components | Inspect filter installation |
| Cloudiness at only one faucet | Local fixture issue | Test other faucets | Clean the faucet aerator |
| Cloudiness with bad odor | Water-quality concern | Compare source and stored water | Investigate before drinking |
| Ongoing dark debris | Cartridge or contamination issue | Inspect filter and housing | Stop treating it as normal startup fines |
How Do You Clear Cloudy Water After Changing an RV Filter?
You usually do not need complicated repairs for normal startup cloudiness. Work through these steps before replacing another cartridge unnecessarily.
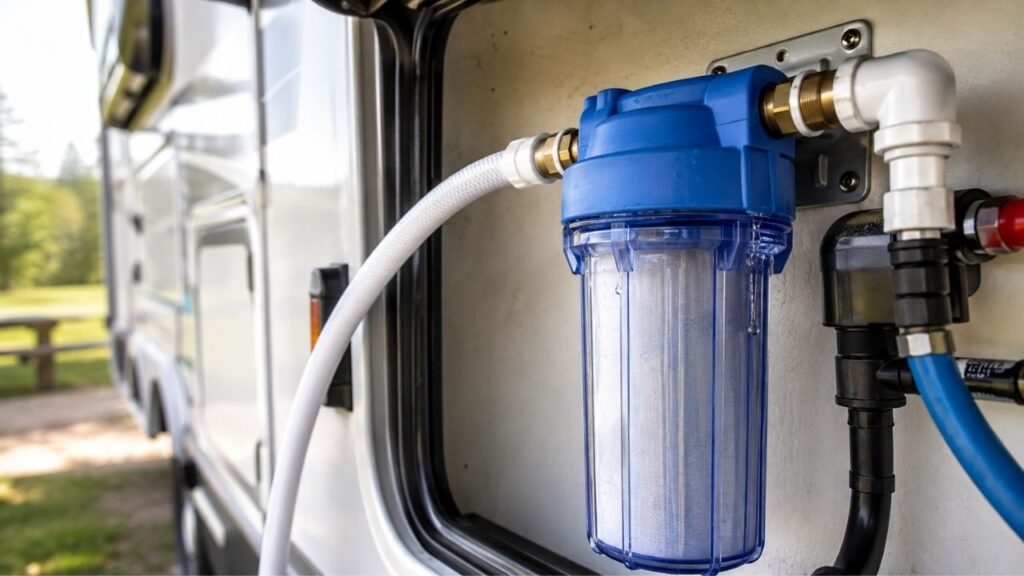
- Check the filter installation. Make sure the cartridge sits correctly inside its housing.
- Check the flow direction. Some inline filters have directional arrows printed on them.
- Restore the water supply gradually. Avoid hitting a completely dry system with maximum pressure immediately.
- Release trapped housing air when possible. Some filter housings include a pressure-release button on top.
- Open a cold-water faucet. Cold water is usually best for the initial system purge.
- Follow the manufacturer’s flushing instructions. Different filter cartridges require different flush times or volumes.
- Let the water run steadily. Avoid repeatedly stopping and restarting every few seconds.
- Watch for sputtering to decrease. Smoother water flow suggests trapped air is leaving.
- Repeat the clear-glass test. Compare later samples with your first cloudy sample.
- Flush other plumbing branches when needed. Open bathroom faucets and showers if they still contain air.
- Inspect the housing for leaks. Check the housing seam, fittings, and nearby connections carefully.
- Compare city water and pump operation. Do this if the cloudiness refuses to disappear.
One important point deserves emphasis here.
Do not assume every RV water filter needs five minutes flushing.
One filter may specify several gallons instead.
Another cartridge may require a longer continuous flush.
Following the specific cartridge instructions gives you the safest baseline.
How Long Should RV Water Stay Cloudy After Changing the Filter?
There is no single clearing time that applies to every RV filter.
Obvious cloudiness often becomes noticeably better during the initial flushing process. However, microscopic bubbles can sometimes remain afterward for a while.
Several factors affect how quickly the water clears.
A fine-micron cartridge can trap considerably more air inside its media.
Water pressure also affects how visible those microscopic bubbles become.
Higher pressure can break trapped air into extremely small bubbles.
Daily water usage matters too.
An RV used heavily may purge trapped air relatively quickly.
A lightly used RV moves much less water through the cartridge.
That means the same filter may take longer to fully stabilize.
Filter construction also changes the expected flushing period.
Carbon-block filters behave differently from basic sediment cartridges.
Because of these differences, use the manufacturer’s instructions first.
Then judge whether your water consistently improves with continued use.
A gradually improving condition usually points toward normal filter startup behavior.
Cloudiness that never improves deserves a closer inspection.
What If the Cloudiness Does Not Go Away?
Persistent cloudiness needs more troubleshooting than normal filter startup haze. At this point, I would isolate different parts of the RV system.
Compare City Water With the Fresh-Water Tank
This is one of my favorite RV troubleshooting tests.
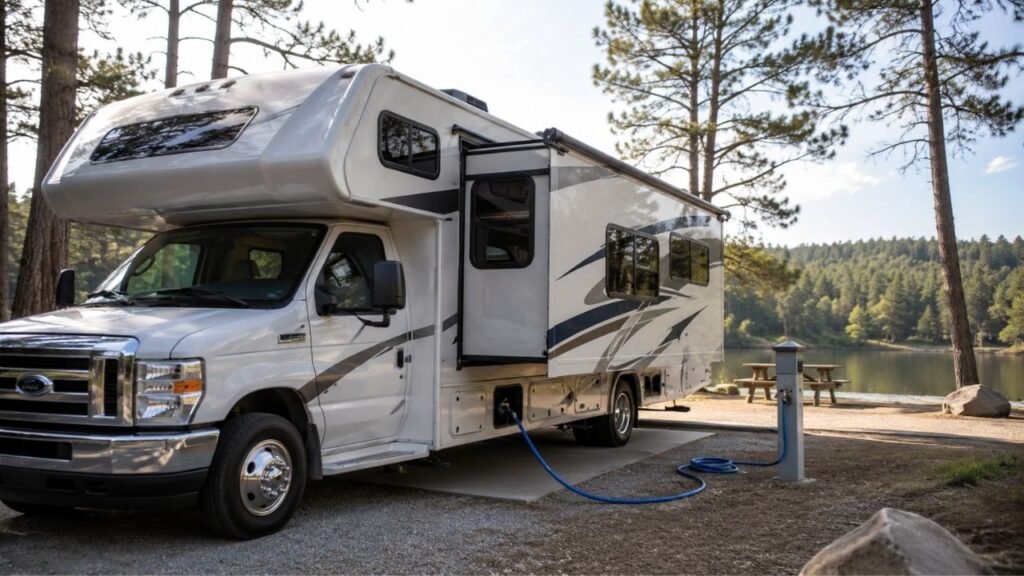
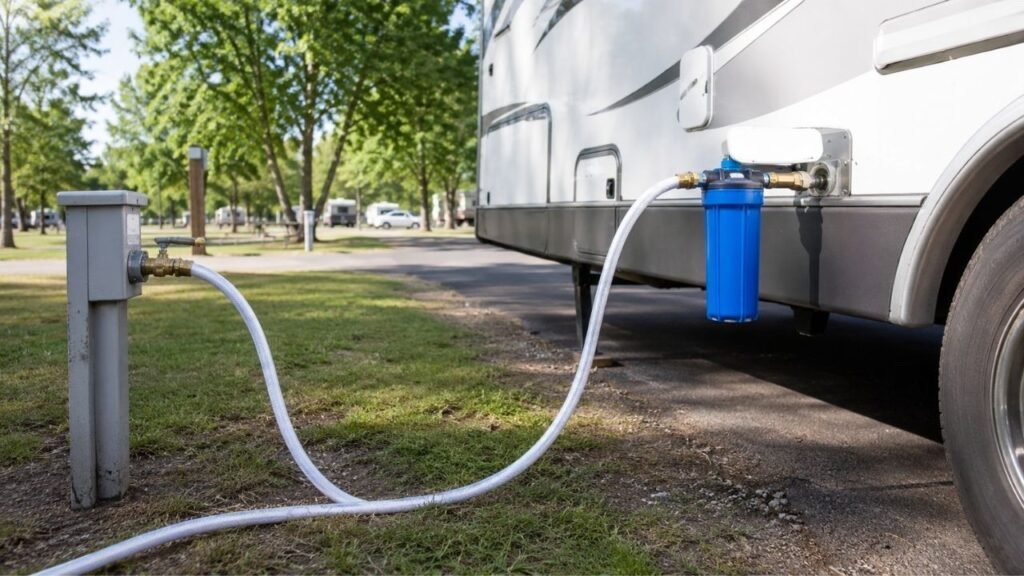
Connect the RV to city water and test the faucets.
Then disconnect city water and switch to your fresh-water pump.
Compare both results.
If the water looks clear on city water but cloudy from the tank, the filter may not be the main problem.
Possible tank-side causes include:
- Air entering the pump inlet
- Low fresh-water level
- Sediment inside the tank
- Loose pump fittings
- A leaking pump strainer seal
- Problems around the winterizing line
If both sources produce the same cloudiness, look elsewhere.
The filter itself or downstream plumbing becomes more suspicious.
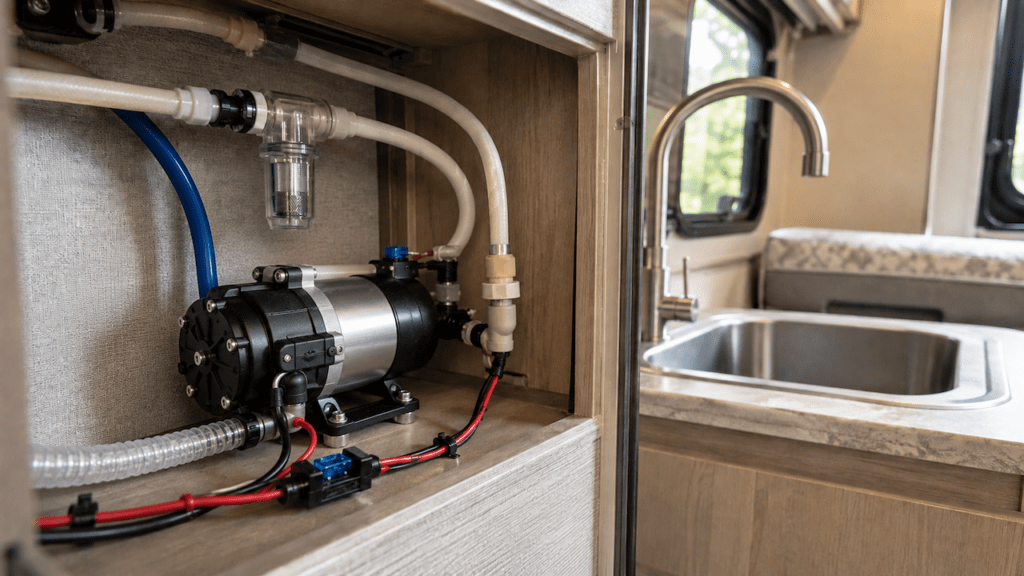
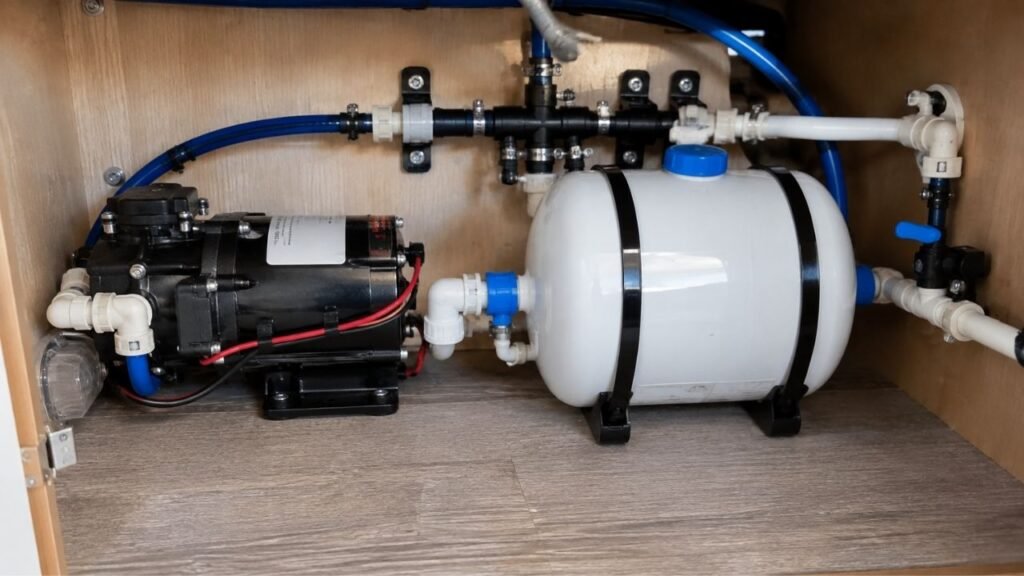
Check Whether the RV Water Pump Is Pulling Air
An RV pump can pull air without leaking much water externally.
That makes suction-side problems easy to overlook.
Start by checking your fresh-water level.
A nearly empty tank can allow air to enter the supply.
Then inspect the pump inlet connection.
Make sure threaded fittings are properly seated and secure.
Check the pump strainer housing and its sealing surface.
Also inspect your winterizing hose and valve.
A partially open winterizing valve can sometimes introduce air.
Persistent faucet sputtering often supports an air-entry problem.
Verify Filter Direction and Cartridge Seating
Take another look at the cartridge installation.
Some inline RV filters only work correctly in one direction.
Look for a water-flow arrow on the filter body.
A cartridge inside a canister should also sit properly centered.
Make sure it has not shifted while tightening the housing.
Avoid overtightening the filter bowl.
Overtightening can damage threads, seals, or the housing itself.
Also inspect the cartridge for visible damage.
A crushed or improperly installed filter deserves replacement.
Check the Filter Housing for Old Sediment
A fresh cartridge does not automatically mean a clean housing.
Old sediment can remain inside the filter canister after removal.
When you restore pressure, that material enters the water again.
This creates an easy misunderstanding.
The new filter seems responsible because cloudiness starts immediately afterward.
In reality, you may simply have disturbed old debris.
During future replacements, inspect the empty housing carefully.
Clean it according to the filtration system manufacturer’s instructions.
Do not reuse a housing that contains slime or unexplained buildup.
Test the Water Before the RV Filter
Testing source water can save considerable troubleshooting time.
When practical, fill a glass directly from the campground spigot.
Do this before sending the water through your RV filter.
Compare that sample with water from an inside faucet.
If both samples look similar, the campground water may be responsible.
If only filtered water looks cloudy, focus on the filtration system.
You can also test your fresh tank separately.
Comparing sources helps narrow the problem much faster.
Check the Fresh-Water Tank
Your fresh-water tank deserves attention when symptoms continue.
Think about what happened before the cloudiness started.
Was the RV recently taken out of storage?
Did you recently sanitize the fresh-water system?
Did you just refill an almost empty tank?
Was the RV recently winterized or dewinterized?
Any of those events can change water appearance temporarily.
Sediment can also accumulate inside older tanks.
If tank water smells unusual or looks persistently dirty, investigate further.
Check Individual Faucets and Aerators
Cloudiness at only one faucet usually suggests a local issue.
Remove and inspect the faucet aerator.
It may contain:
- Carbon fines
- Mineral deposits
- Sand
- Pipe debris
- Sediment
Clean the aerator before testing again.
Then compare that faucet with another cold-water outlet.
If every other faucet looks clear, the filter probably works correctly.
Is Cloudy RV Water After a Filter Change Safe to Drink?
That depends on what is actually causing the cloudiness.
If you confirm that tiny air bubbles create the milky appearance, those bubbles themselves are not contamination. The water often becomes completely clear after sitting.
Small amounts of startup carbon fines can also appear temporarily.
However, complete the filter’s recommended flushing procedure before normal drinking use.
I would avoid using appearance alone to declare RV water safe.
Clear-looking water can still contain contaminants you cannot see.
Likewise, cloudy-looking water may sometimes contain harmless trapped air.
Use your water source history and filtration maintenance as additional clues.
Be more cautious when cloudiness comes with:
- Strange odors
- Unusual tastes
- Persistent discoloration
- Slime
- Repeated sediment
- Questionable campground water
- Recent water advisories
When contamination is genuinely possible, use another safe drinking-water source.
Resolve the cause before relying on the RV system again.
When Cloudy RV Water Is a Warning Sign
Most post-filter cloudiness improves as trapped air leaves the system. These signs suggest you should investigate beyond normal filter flushing.
- The water stays cloudy after completing the recommended flush.
- Cloudiness becomes worse instead of gradually improving.
- Water develops a strong or unusual smell.
- Brown, orange, green, or yellow discoloration appears.
- Slime develops inside the filter housing.
- Black particles continue after thorough flushing.
- Sediment repeatedly collects at the glass bottom.
- The water suddenly tastes different or unpleasant.
- Campground source water also looks suspicious.
- Your fresh-water tank has been sitting unused for months.
- The cartridge looks damaged or improperly seated.
- Cloudiness returns long after the replacement period ended.
- Someone becomes ill after using the RV water.
Do not keep flushing indefinitely when obvious warning signs remain.
At some point, you need to identify the actual source.
Why Does Cloudiness Return Every Time I Replace the Filter?
Seeing cloudy water after every filter change does not necessarily mean something is wrong.
Each cartridge replacement starts a similar process again.
You remove the old filter and open the housing.
That allows fresh air into the filtration system.
The new filter also contains air inside its media.
Activated-carbon cartridges may additionally release startup carbon fines.
Therefore, temporary cloudiness can return with each replacement.
What matters is the pattern afterward.
Normal startup cloudiness should gradually improve.
Persistent problems that continue throughout the filter’s life are different.
Those symptoms deserve proper troubleshooting.
How to Prevent Cloudy Water After the Next RV Filter Change
You cannot always prevent every microscopic air bubble after replacement. However, good filter-changing habits can reduce unnecessary problems.
- Read the new cartridge instructions before removing your old filter.
- Make sure you purchased the correct replacement filter.
- Check flow-direction markings before connecting inline filters.
- Shut off the water supply before opening any filter housing.
- Relieve system pressure before removing the old cartridge.
- Inspect the empty housing before installing the replacement.
- Clean the housing when your manufacturer recommends doing so.
- Check O-rings and seals while the housing is open.
- Seat the new cartridge carefully and evenly.
- Avoid overtightening the housing.
- Restore water pressure slowly after reassembly.
- Use the pressure-release button when your housing provides one.
- Complete the full recommended initial flush.
- Flush campground spigots before connecting your drinking-water hose.
- Keep RV water hoses clean and capped during storage.
- Maintain and sanitize your fresh-water system regularly.
- Avoid repeatedly removing a new filter because of temporary milky water.
Most importantly, watch for improvement.
Water that gets clearer with each flush usually needs patience.
Water that remains unchanged needs diagnosis.
Final Verdict
If your RV water turns cloudy immediately after changing the filter, trapped air is the most likely explanation. This is especially true when the water appears white or milky and clears from the bottom upward.
A new activated-carbon filter may also release small carbon fines. Proper flushing usually removes those particles and stabilizes the new cartridge.
If the cloudiness refuses to improve, move beyond the filter itself. Compare city water with your fresh tank, inspect the pump side, check the housing, and test your campground water source.
The goal is not to panic over one cloudy glass.
Use the water’s behavior to guide your troubleshooting instead.
Related FAQs
Why Is My RV Water Milky After Changing the Filter?
Milky RV water after a filter change usually contains microscopic air bubbles trapped inside the new filter media or housing. Fill a clear glass and watch it. If the water clears from the bottom upward, trapped air is usually responsible.
Why Are Black Specks Coming From My New RV Water Filter?
Small black or gray specks often come from loose activated-carbon particles inside a new carbon filter. They should decrease after completing the manufacturer’s flushing procedure. Persistent black particles can indicate a damaged cartridge or another contamination source.
How Long Should I Flush a New RV Water Filter?
Follow the flushing instructions provided for your specific RV filter cartridge. Some manufacturers specify a certain number of minutes, while others specify gallons. Continue until the required flush is complete and water flow becomes consistently clear and stable.
Should I Flush an RV Water Filter Before Connecting It to the RV?
Some inline RV filters can be flushed before connecting them downstream, while other filtration systems must be flushed after installation. Follow your filter manufacturer’s directions because cartridge designs and flushing requirements vary between products.
Why Does My RV Water Stay Cloudy After Flushing the Filter?
Persistent cloudiness may come from source water, sediment, incorrect filter installation, fresh-tank problems, or air entering around your RV water pump. Compare city water with tank water and use the glass test to narrow down the cause.
Why Is My RV Water Cloudy Only When Using the Water Pump?
Cloudiness occurring only while using the pump may indicate air entering the tank-side plumbing. Check the fresh-water level, pump inlet fittings, strainer seal, winterizing valve, and other suction-side connections for possible air entry.
Why Is My RV Water Cloudy on City Water but Clear From the Fresh Tank?
If city water looks cloudy while fresh-tank water remains clear, inspect the campground water supply, drinking-water hose, city-water connection, and inline filter. Testing water directly from the campground spigot can quickly narrow down the source.
Can Carbon Fines From an RV Water Filter Hurt You?
A small amount of carbon fines can appear during the initial flushing of some activated-carbon filters. Complete the manufacturer’s required flushing procedure before normal use. Continuing dark particles after proper flushing should be investigated rather than ignored.
Can Hard Water Make RV Water Look Cloudy?
Hard water can sometimes appear hazy because of dissolved minerals or mineral precipitation. However, hard-water cloudiness usually behaves differently from microscopic air bubbles. If cloudiness persists after standing, test the source water and investigate further.
Should I Replace a New RV Filter if the Water Is Still Cloudy?
Do not immediately replace a new filter simply because the first few glasses look milky. Complete the required flushing procedure first. Replace or inspect the cartridge when cloudiness persists, debris continues, installation is incorrect, or the filter appears damaged.

Steven Parker writes about everyday RV life, from setup tips to long-term living decisions. His content reflects a calm, experienced approach to RV ownership and travel. He focuses on comfort, reliability, and realistic expectations.